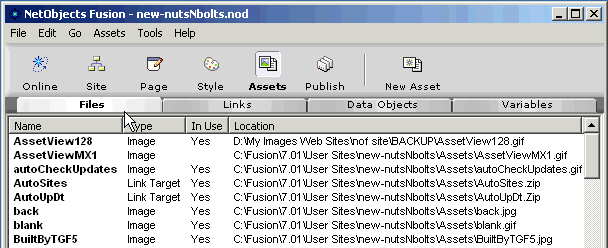
Before exporting your site as a template (backing up your site file) you should verify your file assets and delete all unused assets. If you wish to keep any unused file assets with your site (images that you no longer use but wish to keep with the site in its Assets folder) go through the first 3 steps below and verify all file assets before exporting as a template.
The re-optimize function performs some basic checks and clean-up to your site project database. NetObjects Fusion is a database program which generates HTML code. Re-optimizing your site project keeps the database in good working order.
Step 3: Exporting your site to template
- Click the Site View icon to go to your web site structure
- From the menu bar select File and from the drop down menu selection choose Export as Template then select Entire Site (In NetObjects Fusion 7 you now have the option of exporting a single page or a selected group of pages as well as the entire site).
- Navigate to the folder that you want to save your templates in and select the folder. If you do not already have a folder or you do not wish to use the NetObjects Fusion templates folder use must use Windows Explorer to create a folder before exporting. To help you keep better track of your backup sites add a DATE your templates zip file name during the export process.
- If you have chosen to save unused assets when you verified assets, answer Yes when you are prompted to save unused assets otherwise answer no. If you chose to delete all unused assets when you verified assets you will not see this dialog box. If you answer no only active file assets for the site will be saved with the template. The unused assets will remain with the original site as file assets in your *.nod file but not be saved with the template you have exported.
- Click OK when you see the Template has been saved prompt
IMPORTANT: Always keep copies of your most current templates on removable media. Copy the Zip file to CD-ROM AFTER exporting it to a hard drive location. Do not export as template directly to removable media. Use Windows explorer to copy the zipped template.
If you do not keep a copy of your template outside of your computer, when you do have a crash your backups will be lost right along with all of your other content.
Hint: For safe keeping of your site templates, make a folder on your website and upload it
If you wish Fusion to keep a copy of your exported template on your web site for you automatically, you can add the exported template as a file asset. That way Fusion will FTP your template to your site root when it uploads. When you export a template just save it in the same location and with the same name as you used when you created the file asset.
This gotFusion tutorial will go over how to create an external file asset