Creating a Remote Test Folder with Fusion
There will come a time when you run into problems you cannot find a solution to and need to ask for help. In order to get quick accurate answers to your problems you need to show the page with the problem to someone. The best way to do this is to upload the page to your web host. You do not want to put problems in your live web content so you need to make a separate FTP profile in Fusion that will upload to an area that is not part of your live content.
Step 1: Setting up a Test Remote Profile
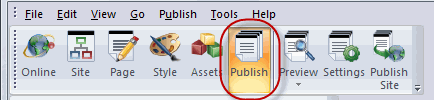
Click on the Publish Icon in the NetObjects Fusion Toolbar.
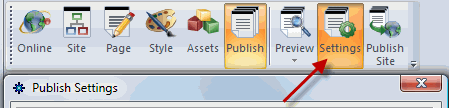
Click on the Settings icon to bring up the Publish Settings dialog box.
On the Publish Settings palette click on the New button.
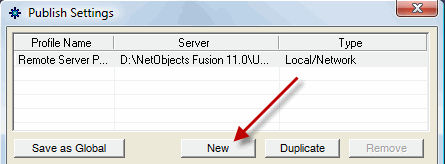
The Publish Settings dialog box will open
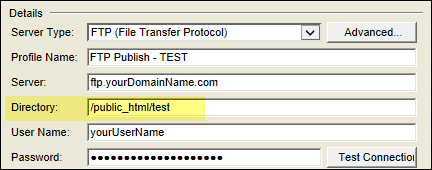
- Open the drop down box next to the label Server Type and select FTP (File Transfer Protocol)
- Give this new profile a name such as FTP Test Folder or Testing Remote Publish or Test FTP Account
- In the Server Name box enter the FTP location that was given to you by your Web Hosting Company when you set up your web hosting account. Some use ftp.domain.com some use just the domain.com, some will use an IP address with a folder. Each will be different so this information needs to come from your web hosting provider
- In the Directory: input box, enter the default directory you wish Fusion to publish all of your files to. The Default Directory is your web server root. This can be www or wwwroot or public_html Ask your web hosting provider what name to use. To create a test folder append /test to your root folder
- In UserName: Enter your hosting account username or your FTP account username. If you do not know this, ask your hosting provider.
- In Password: Enter your hosting account password or your FTP account password. If you do not know this, ask your hosting provider.
- In Live URL: Enter the full URL of your web site
- Once you have all of your information entered press the Close button to create this new profile
Your completed profile should look similar to this
Step 2: Test Your Connection

To make sure that you have entered all of the correct information press the Test button. Fusion will connect to your remote host using the information you entered. If everything is correct you will get a Connection to Host Successful alert box. If something was not entered correctly you will get a Connection Failed alert box. IF you get this error dialog check that you are connected to the internet, check your username and password, check the server name for misspelling and check that the root folder is listed properly. IF all seems correct check with your web host to verify that you have the proper information to connect to your web site

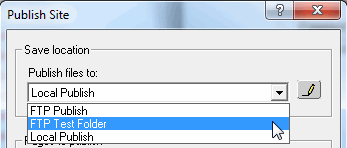
Step 3: Select the Test Profile
Any time you need to put up a test page Select the Test FTP profile from the list of available FTP profiles.
|
Did you find this tutorial useful?
Do you want to keep this resource online?
Make a donation to keep gotFusion alive
This page was written by and is maintained by turtle
|
|