|
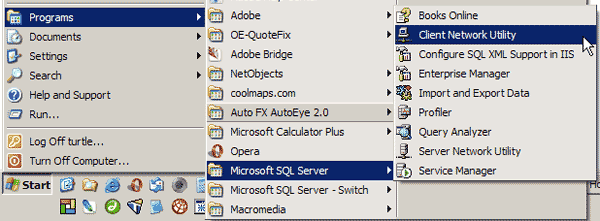
Managing Your Microsoft SQL Server Databases
If you do not have a local version of MS SQL Server you can download and install a trial version from Microsoft which will revert to a single user version after 180 days. If you do not wish to install the full SQL Server software on your computer you can select only Enterprise Manager and Client Tools during the install process.
Adding New Databases to SQL Server
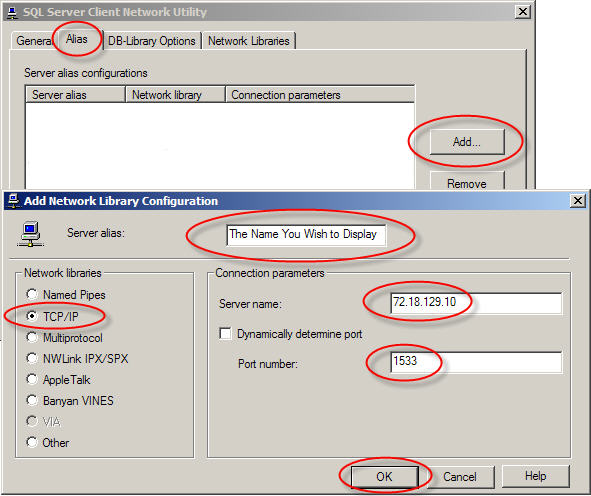
On the SQL Server Client Network Utility palette:
Click the Alias tab
Then Click the Add Button On the Add Network Library Configuration palette:
Under Network Libraries Select TCP/IP
In the Server Alias input box put the name you wish to use for your database
Under Connection Parameters
For Server name enter 72.18.129.10
Un-check dynamically determine port and for Port Number enter 1533
Click the OK button to save your configuration
Regester Your New Database
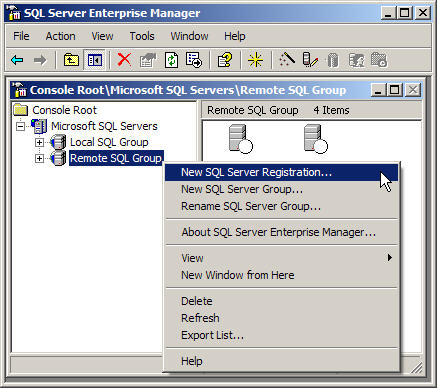
Click Next to begin
- Select your database from the list of Available Servers
- Press the Add Button and it will move to the Added Servers side
- Press Next
- Select SQL server information that was sent to me (SQL Server Authentication)
- Press Next
- Select Automatically Log in, enter the User Name-Password that you were sent
- Press Next
- Select Add to Existing SQL server group and pick Remote Server Group
- Press Next and the wizard will finish and show you the success screen with the name of your database
- Press Finish and wizard will say Server Registration Complete
- Press Close and your database will appear in the Remote Server List in Enterprise Manager
To start and connect to your remote Database in Enterprise manager:
Click on the plus sign (+) in front of your database to expand options
Click on the plus sign (+) in front of the Databases option
Click on the plus sign (+) in front of the name of your database that was sent to you
Click on Tables to show you the existing table structure To add new tables right click on tables and select New Table
The Design Table dialogue box will open and you can enter rows and data types
select Save when you are finished and give your new table a name
Create as many tables as you need
|
Did you find this tutorial useful?
Do you want to keep this resource online?
Make a donation to keep gotFusion alive
This page was written by and is maintained by turtle
|
|